[Vue/코딩애플/part2] 6. Hash mode vs HTML mode / Navigation guards
📌 Hash mode vs HTML mode
현재는 아래와 같이 셋팅했다.
import { createRouter, createWebHistory } from 'vue-router'

const router = [];
const router = createRouter({
  history: createWebHistory(),
  routes,
})
history: createWebHistory() 로 셋팅했음
요 부분을 다르게 셋팅할 수 있다.
import { createRouter, createWebHashHistory } from 'vue-router'

const router = [];
const router = createRouter({
  history: createWebHashHistory(),
  routes,
})
history: createWebHashHistory()
이렇게 셋팅한 것을 Hash mode 라고 한다.
Hash mode 에서는 URL 에 전부 # 이 붙는다.
ex) 도메인/#/detail
< HTML5 mode >
/detail 로 접속 시 실은
Vue router 로 /detail 로 보내주세요 라는 뜻이 아니라
서버에 /detail 페이지를 요청해주세요 라는 뜻이다.
=> Vue 가 라우팅하기 전에 서버가 /detail 페이지를 보여주려고 할 수 있다.
서버 개발을 하지 않았으면 오류 페이지가 노출 된다.
이를 방지하기 위해 서버에 '어떤 사람이 /어쩌구 로 접속하면 vue 에 라우팅을 맡겨주세요' 라고 미리 기능 개발이 필요하다.
< Hash mode >
hash mode 는 URL 에 # 이 붙은 채로 시작한다.
# 뒤에 있는 내용들은 절대로 서버에 전달되지 않는다.
따라서 서버가 라우팅을 채가는 일이 없어 Vue router 에 라우팅을 온전히 맡길 수 있다.
서버 없이 실습 중이라면 hash 라우터로 사이트를 만드는 것도 좋다.
📌 Navigation guards
특정 URL 로 접속 했을 때 코드를 실행하고 싶은 경우가 있다.
ex) 마이페이지 접속 시 로그인 체크 하고 싶을 때
라우팅 전에 로그인 여부를 체크해야 하는 경우
=> 네이게이션해주기전에 실행할 수 있는 코드 navigation guard 를 쓰면 된다.
라우터를 정의하고 있는 파일 (ex. router.js)에서 다음과 같은 코드를 작성하면 된다.
const routes = [
  {
    path: "/hello",
    component: HelloWorld,
    beforeEnter: ()=>{
      if (로그인여부 == false) {
        return '/login'
      }
    }
  }
];
로그인이 안되어 있다면 /login 페이지로 라우팅시켜준다.
로그인 사용자는 대부분 쿠키나 로컬 스토리지에 로그인 정보가 저장되어 있다.
요것들을 체크하여 검사하면 된다.
다만 자바스크립트 변수나 데이터는 콘솔에서 위조가 가능하기 때문에
서버단에서 로그인 검증을 하는 것이 좋다.
const routes = [
  {
    path: "/",
    component: Home
  },
  {
    path: "/list",
    component: List,
    beforeEnter: () => {
      // navigation guards, 라우팅 전 실행되는 코드
      console.log('beforeEnter');
    }
  },
  {
    path: "/detail/:id(\\d+)",
    component: Detail,
    children: [
      {
        path: "author",
        component: Author,
      },
      {
        path: "comment",
        component: Comment,
      }
    ]
  },
  // 위 path 를 제외한 path 로 접근 시 404 페이지 노출
  {
    path: "/:anything(.*)", // 아무 문자 입력 가능, 엄격하게 검사하고 싶으면(.*) 추가
    component: NotFound, // 404 페이지 컴포넌트
  }
];
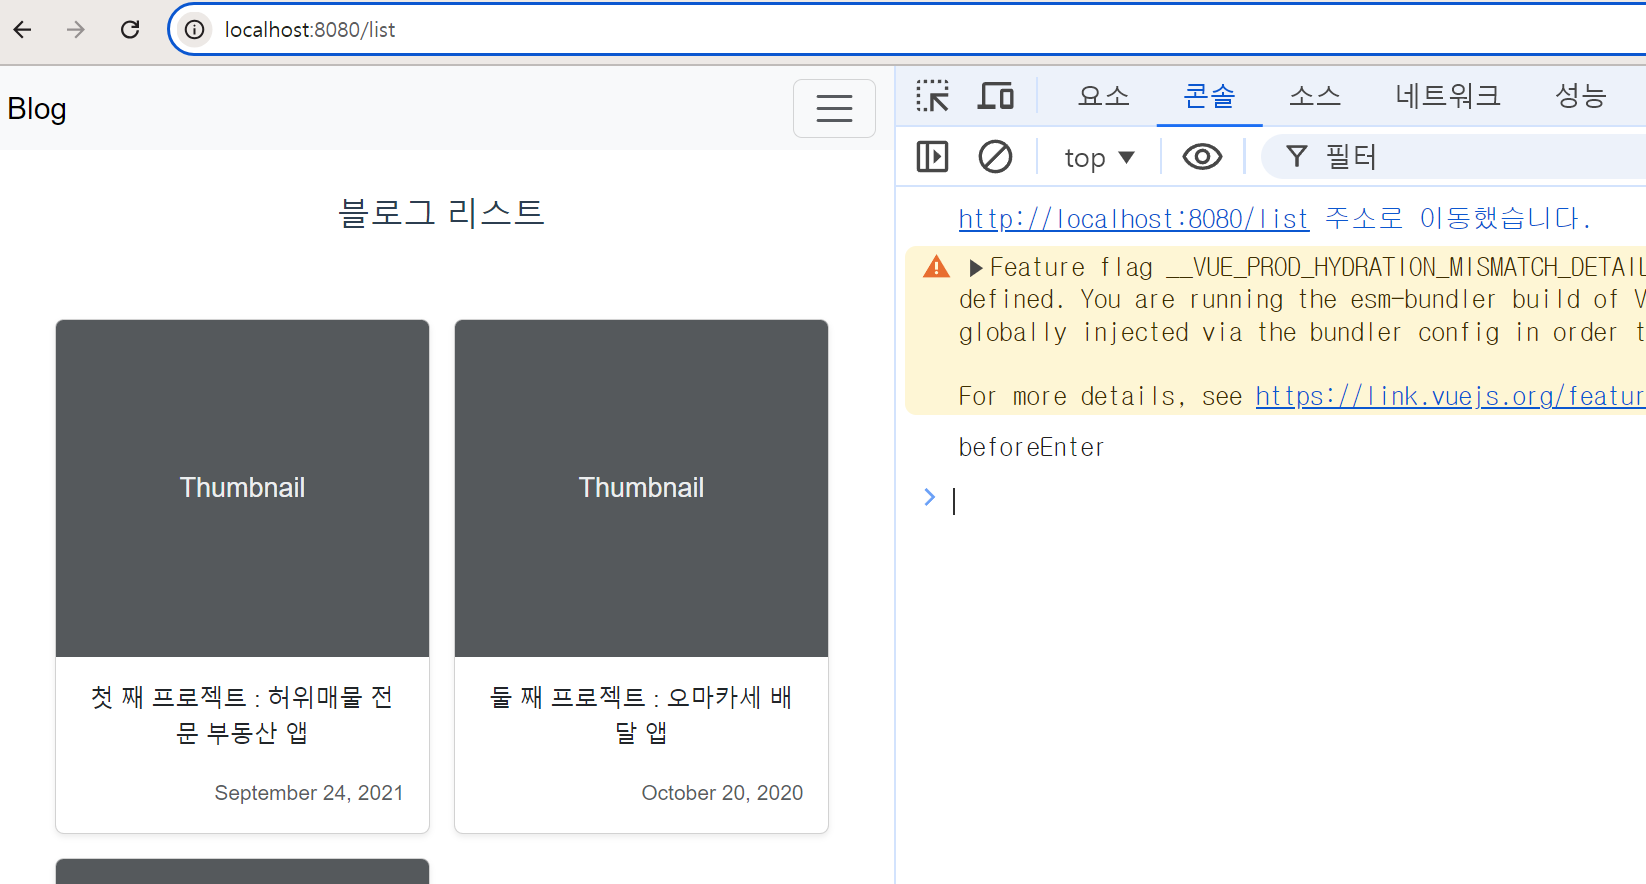
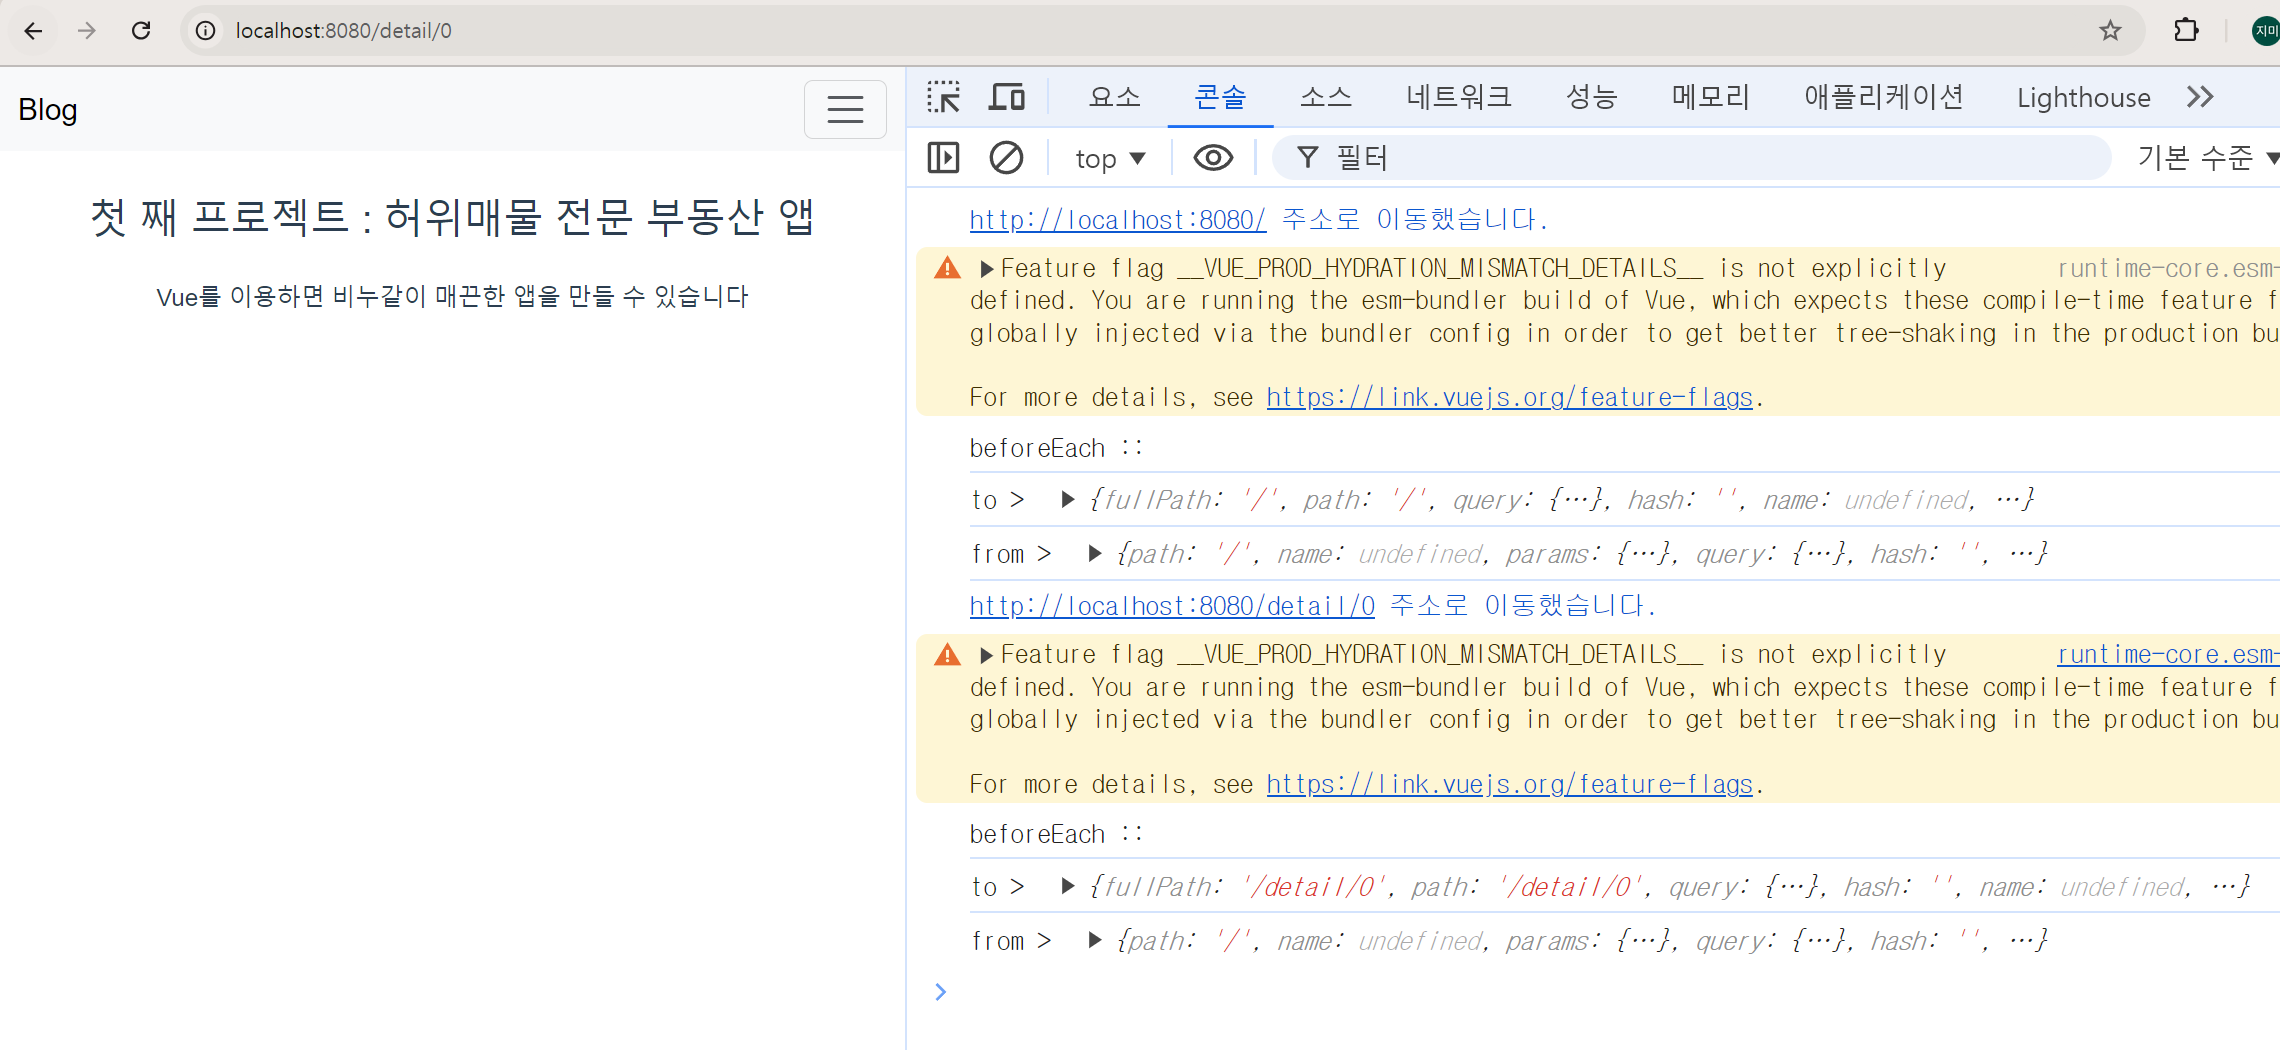
/list 로 접속해보면 로그가 찍히는 것을 확인할 수 있다.
첫번째 파라미터는 목적지 페이지에 대한 정보,
두번째 파라미터는 출발 페이지에 대한 정보가 담겨있다.
{
    path: "/list",
    component: List,
    beforeEnter: (to, from) => {
      // navigation guards, 라우팅 전 실행되는 코드
      console.log('beforeEnter');
      console.log('to >', to);
      console.log('from > ', from);
    }
}
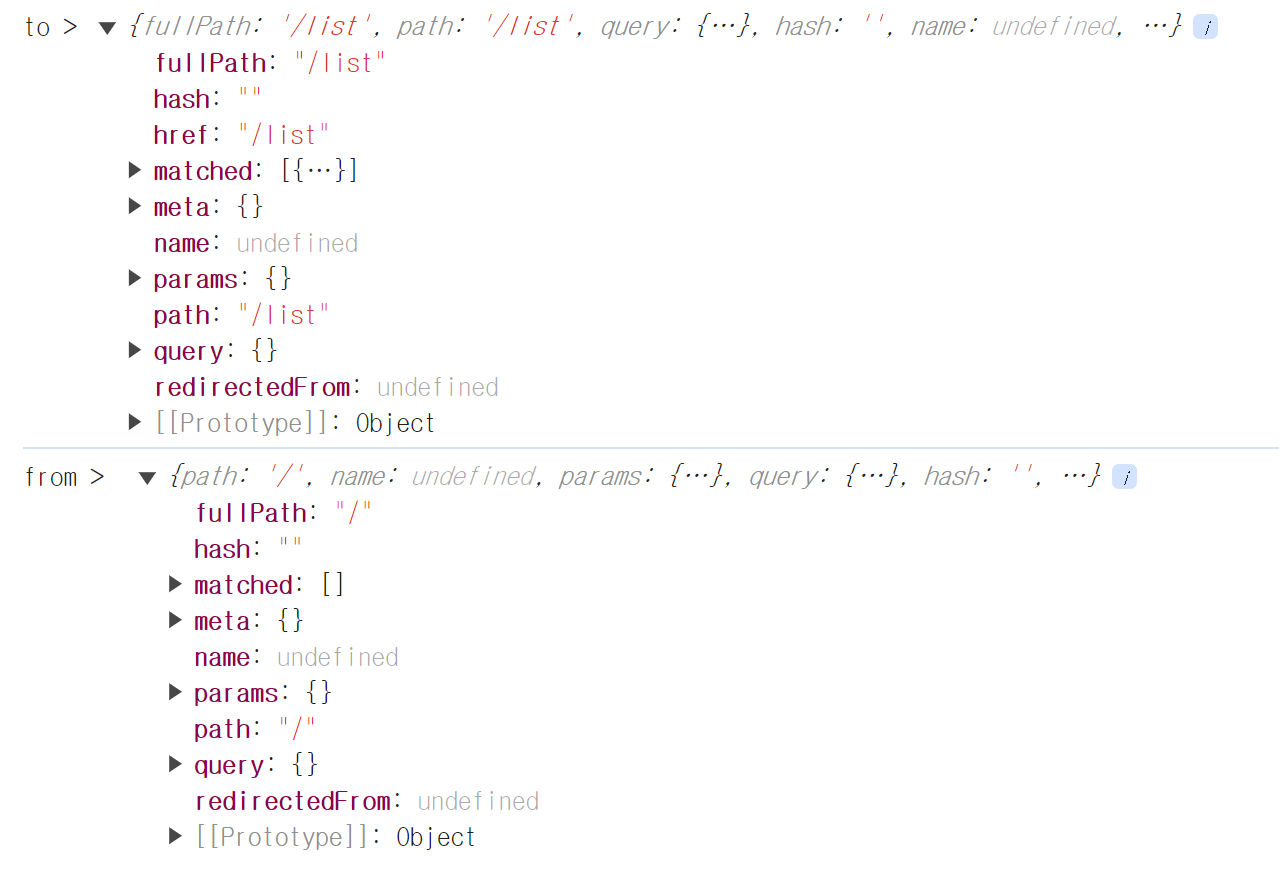
to.fullPath
to.params.id 등을 활용할 수 있다.
- retrun false : 라우팅 중단
- return 이 없으면 원래의 route 인 /list 로 이동 시킨다.\
📌 여러 개의 route 에 같은 navigation guard 를 추가하기
router라는 변수에 에 .beforEach() 를 쓰면 된다.
라우팅 전에 실행하고 싶을 때 : beforeEach() 혹은 beforeResolve()
라우팅 후에 실행하고 싶을 때 : afterEach()
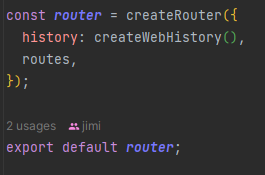
const router = createRouter({
history: createWebHistory(),
routes,
});
// 모든 route에 같은 navigation guard 를 추가하고 싶을 때
// 라우팅 전 실행 : beforeEach() 혹은 beforeResolve()
// 라우팅 후 실행 : afterEach()
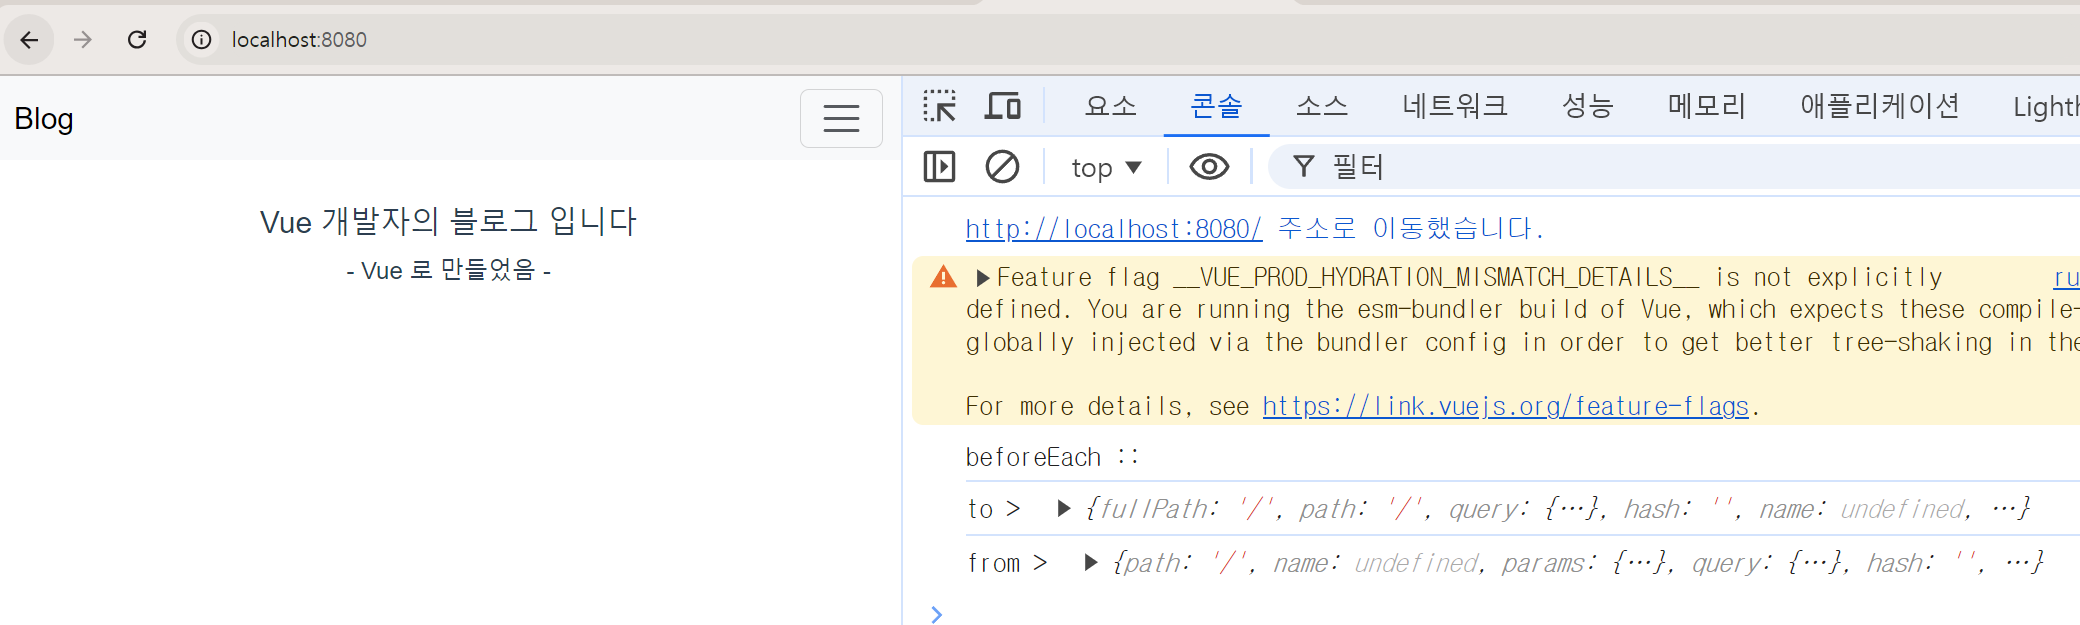
router.beforeEach((to, from) => {
console.log('beforeEach ::');
console.log('to > ', to);
console.log('from > ', from)
})
코드를 위와 같이 작성하면 모든 페이지에서 log 가 출력된다.
📌 Vue 컴포넌트 안에서 navigation guard 쓰기
vue 파일 안에서도 페이지 이동 시 코드를 실행시킬 수 있다.
created(), mounted() 등과 비슷하게 활용 가능하다.
lifecycle hook 쓰는 위치에다가 쓰면 된다.
beforeRouteEnter(){}
beforeRouteUpdate(){}
마찬가지로 파라미터는 목적지인 to, 출발지인 from 을 활용할 수 있다.
특정 페이지로 접속했을 때 ajax 요청하거나 그럴 일이 있을 때 쓰면 된다.
자세한 내용은 vue router 공식 문서에 잘 설명되어 있다.
https://router.vuejs.kr/guide/advanced/navigation-guards
Vue Router | The official Router for Vue.js
The official Router for Vue.js
router.vuejs.org